
Writing good AI prompts
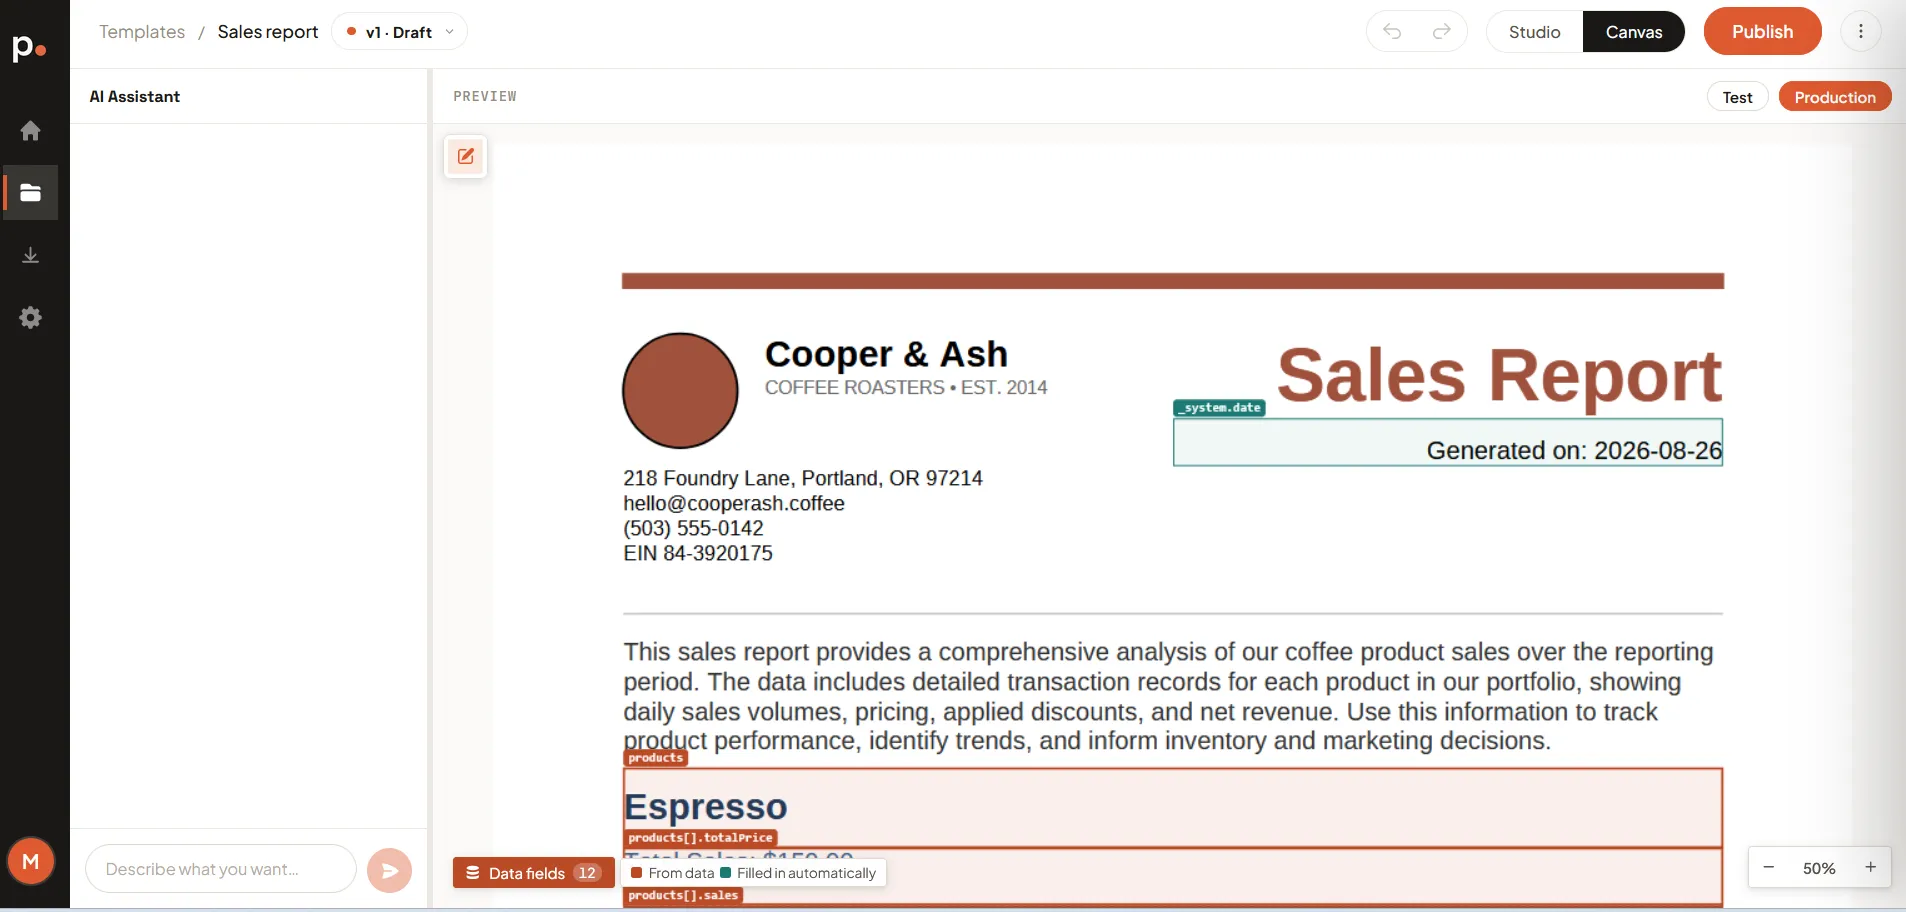
The AI Assistant is the panel on the left of the template editor. You describe what you want in plain language and Pagr builds it for you — you never have to touch the template code yourself.
It works two ways:
- Generate from scratch. Start from a Blank template and describe the document you want — even something as short as “make me an invoice” gets you a first version to work from. The more you describe (the sections, fields, and layout you have in mind), the closer that first result is to what you need.
- Edit an existing template. Ask for specific changes — “add a logo to the header”, “make the totals bold” — and the assistant rewrites the relevant part.
The quality of the result depends a lot on how you describe it. This page shows how the assistant works and how to write prompts that get you what you want.
How the assistant works
Section titled “How the assistant works”Type your request into the Describe what you want… box and send it. For each request the assistant:
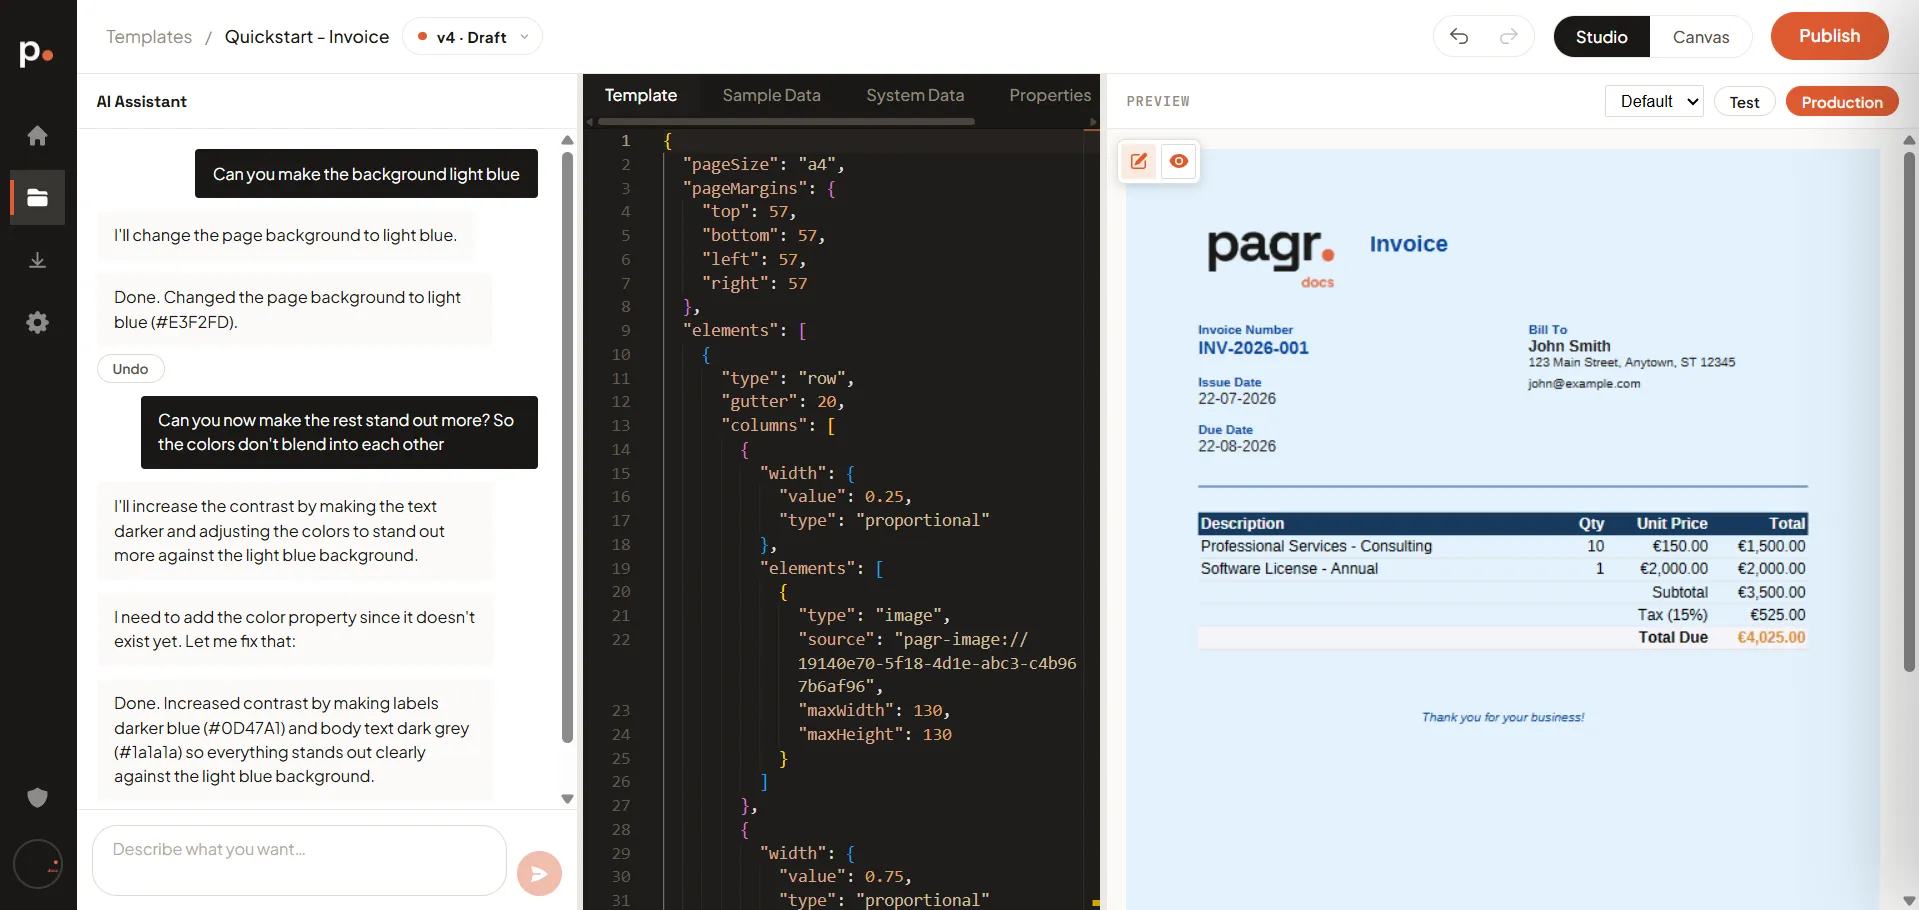
- Shows a short plan of what it’s about to do.
- Makes the change and shows a confirmation of what it changed.
- Adds an Undo button to that message, so you can revert just that change if it’s not right.
It also remembers the conversation, so you can refine with follow-up prompts that refer back to earlier changes (see Refine with follow-ups below).
Write a good prompt
Section titled “Write a good prompt”Describe the outcome you want, not the template code. The more specific you are about what, where, and how, the closer the first result will be.
A vague prompt leaves too much to interpretation:
Add a footer.
A specific prompt tells the assistant exactly what you mean:
Add a footer with the centered text “CONFIDENTIAL” in small grey letters at the bottom of every page.
Tips that make a real difference:
- Say where it goes. Refer to concrete parts of the document: “the header”, “the footer”, “the totals table”, “the first column”, “below the logo”.
- Say how it should look. Size, weight, colour, alignment: “small”, “bold”, “grey”, “centered”, “right-aligned”.
- Change one thing at a time. A single clear change is easier to review — and easier to undo — than five bundled together.
- Name your assets. Reference a gallery image or a custom font by name, and lean on your brand colours (“use our primary colour for the heading”).
Refine with follow-ups
Section titled “Refine with follow-ups”The assistant won’t always land it on the first try — it interprets your words, so the result may not be exactly what you pictured. That’s normal. Because it remembers the conversation, you refine step by step:
You: Add a footer with the centered text “CONFIDENTIAL” at the bottom of every page. Assistant: Added “CONFIDENTIAL” to the footer on all pages.
You: Center that text and move it to the very bottom of the page. Assistant: Done — the CONFIDENTIAL text is now centered and sits at the very bottom.
Notice the follow-up just says “that text” — you don’t repeat the whole request. Work in small steps: describe → check the preview → refine.
A quick workflow
Section titled “A quick workflow”- Open a template version (a Draft) — start from Blank and ask the assistant to generate one, or open an existing template to edit.
- Ask for one clear change.
- Check the Preview on the right (use Test so it doesn’t count toward your credits).
- Happy? Ask for the next change. Not happy? Undo and rephrase.
- When the whole template looks right, Publish the version.
Related articles
Section titled “Related articles”- Templates — the editor, versions, rendering, and publishing.
- Editing a template by hand — do it yourself instead, or mix both approaches.
- Start from an example — skip prompting altogether with a ready-made template.
- Generate a template from a document of your own — start from an existing document instead of a blank page.
- Generate a template from data — start from a spreadsheet or JSON file instead.
- General settings — set the brand colours the assistant designs with.
- Image Gallery and Fonts — reusable assets you can ask the assistant to use.